Configure Internet Connection on Desktop: A Step-by-Step Guide
In today's digital age, having a stable and fast internet connection is essential for both personal and professional use. Whether you're working from home, streaming your favorite shows, or gaming with friends, a reliable internet connection is a must-have. In this article, we'll walk you through the process of configuring an internet connection on your desktop computer.
Prerequisites and Requirements
Before we begin, make sure you have the following:
- A desktop computer with a compatible operating system (Windows 11 or 10)
- A stable internet service provider (ISP)
- A working modem and router
- An Ethernet cable (for wired connection) or a wireless adapter (for Wi-Fi connection)
Option 1: Configure Internet Connection using Ethernet Cable
Connecting your desktop computer to the internet using an Ethernet cable is a straightforward process. Here's how:
- Connect one end of the Ethernet cable to the modem and the other end to the Ethernet port on your desktop computer.
- Make sure the Ethernet cable is securely plugged in to both the modem and the computer.
- Turn on your computer and wait for it to boot up.
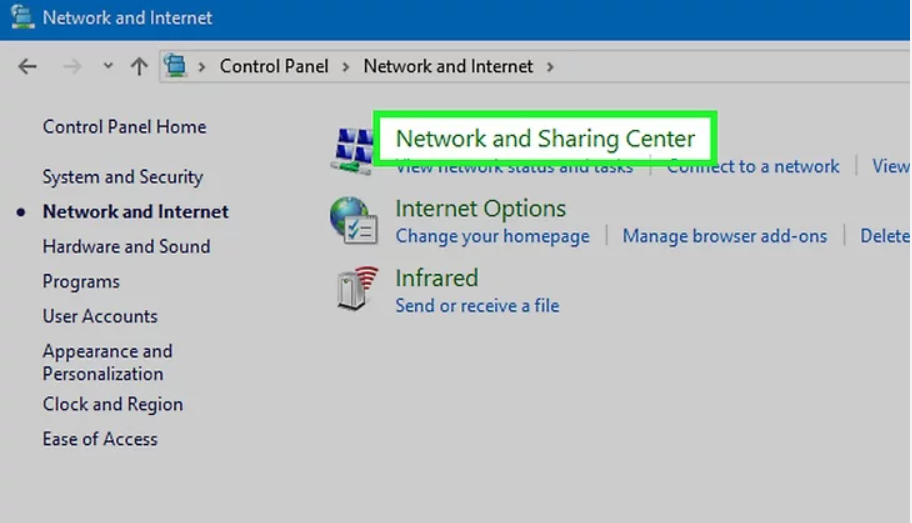
- Open the Network and Sharing Center by searching for it in the Start menu.
- Select the Ethernet connection from the list of available network connections.
- Click on the Properties button to configure the Ethernet connection settings.
- Ensure that the Obtain IP address automatically and Obtain DNS server address automatically options are selected.
- Click OK to save the changes.
Option 2: Configure Internet Connection using Wi-Fi
Configuring an internet connection using Wi-Fi is a bit more complex than using an Ethernet cable. Here's how:
- Make sure your wireless adapter is enabled and installed on your desktop computer.
- Open the Network and Sharing Center by searching for it in the Start menu.
- Click on the Wi-Fi network name and select the Connect button.
- Enter the Wi-Fi password (also known as the network key) and click Connect.
- Wait for the Wi-Fi connection to establish.
- Open the Network and Sharing Center and select the Wi-Fi connection from the list of available network connections.
- Click on the Properties button to configure the Wi-Fi connection settings.
- Ensure that the Obtain IP address automatically and Obtain DNS server address automatically options are selected.
- Click OK to save the changes.
Troubleshooting Tips
If you're experiencing issues with your internet connection, try the following troubleshooting tips:
- Restart your modem and router to refresh the connection.
- Check your Ethernet cable for any damage or disconnections.
- Ensure that your wireless adapter is enabled and installed on your desktop computer.
- Reset your network settings to their default values.
Conclusion
Configuring an internet connection on your desktop computer is a relatively simple process. Whether you choose to use an Ethernet cable or Wi-Fi, make sure to follow the steps outlined in this article to ensure a stable and fast internet connection. Remember to troubleshoot any issues that may arise and don't hesitate to seek professional help if you need it.


