Bathroom Renovation Dry Fitting: A Comprehensive Guide
Bathroom renovation dry fitting is an essential step in the remodeling process that involves testing and verifying the fitment of various components, such as tiles, fixtures, and appliances, before final installation. In this article, we will discuss the importance of bathroom renovation dry fitting, the benefits of doing it, and provide a step-by-step guide on how to conduct a successful dry fit.
Benefits of Bathroom Renovation Dry Fitting
Bathroom renovation dry fitting offers several benefits, including:
- Prevents costly mistakes: Dry fitting helps you identify and resolve potential issues before final installation, saving you time and money.
- Reduces installation time: A well-planned and executed dry fit reduces the risk of delays and ensures a faster installation process.
- Ensures accurate measurements: Dry fitting allows you to verify the accuracy of your measurements, ensuring a precise fit for all components.
- Improves quality control: Dry fitting enables you to inspect and test each component before final installation, ensuring that your bathroom renovation meets the highest standards.
When to Perform a Bathroom Renovation Dry Fit
The ideal time to perform a bathroom renovation dry fit depends on the scope and complexity of your project. Typically, dry fitting is done after the demolition phase and before the installation of any permanent fixtures or components. However, you may want to consider dry fitting at other stages of the project, such as:
- During the planning and design phase: To ensure that your design and plan are feasible and can be executed as intended.
- After laying the floor and wall tiles: To verify the accuracy of your tile layout and ensure a smooth installation process.
- Before installing fixtures and appliances: To test the fitment of these components and make any necessary adjustments.
Step-by-Step Guide to Bathroom Renovation Dry Fitting
Follow these steps to conduct a successful bathroom renovation dry fit:
- Clear the area: Remove any debris, old fixtures, and components from the workspace to ensure a safe and efficient dry fit.
- Measure and mark the area: Take precise measurements of the space and mark the location of each component, including tiles, fixtures, and appliances.
- Mock up the tile layout: Use a laser level and a straightedge to create a mock tile layout, ensuring accurate measurements and even spacing.
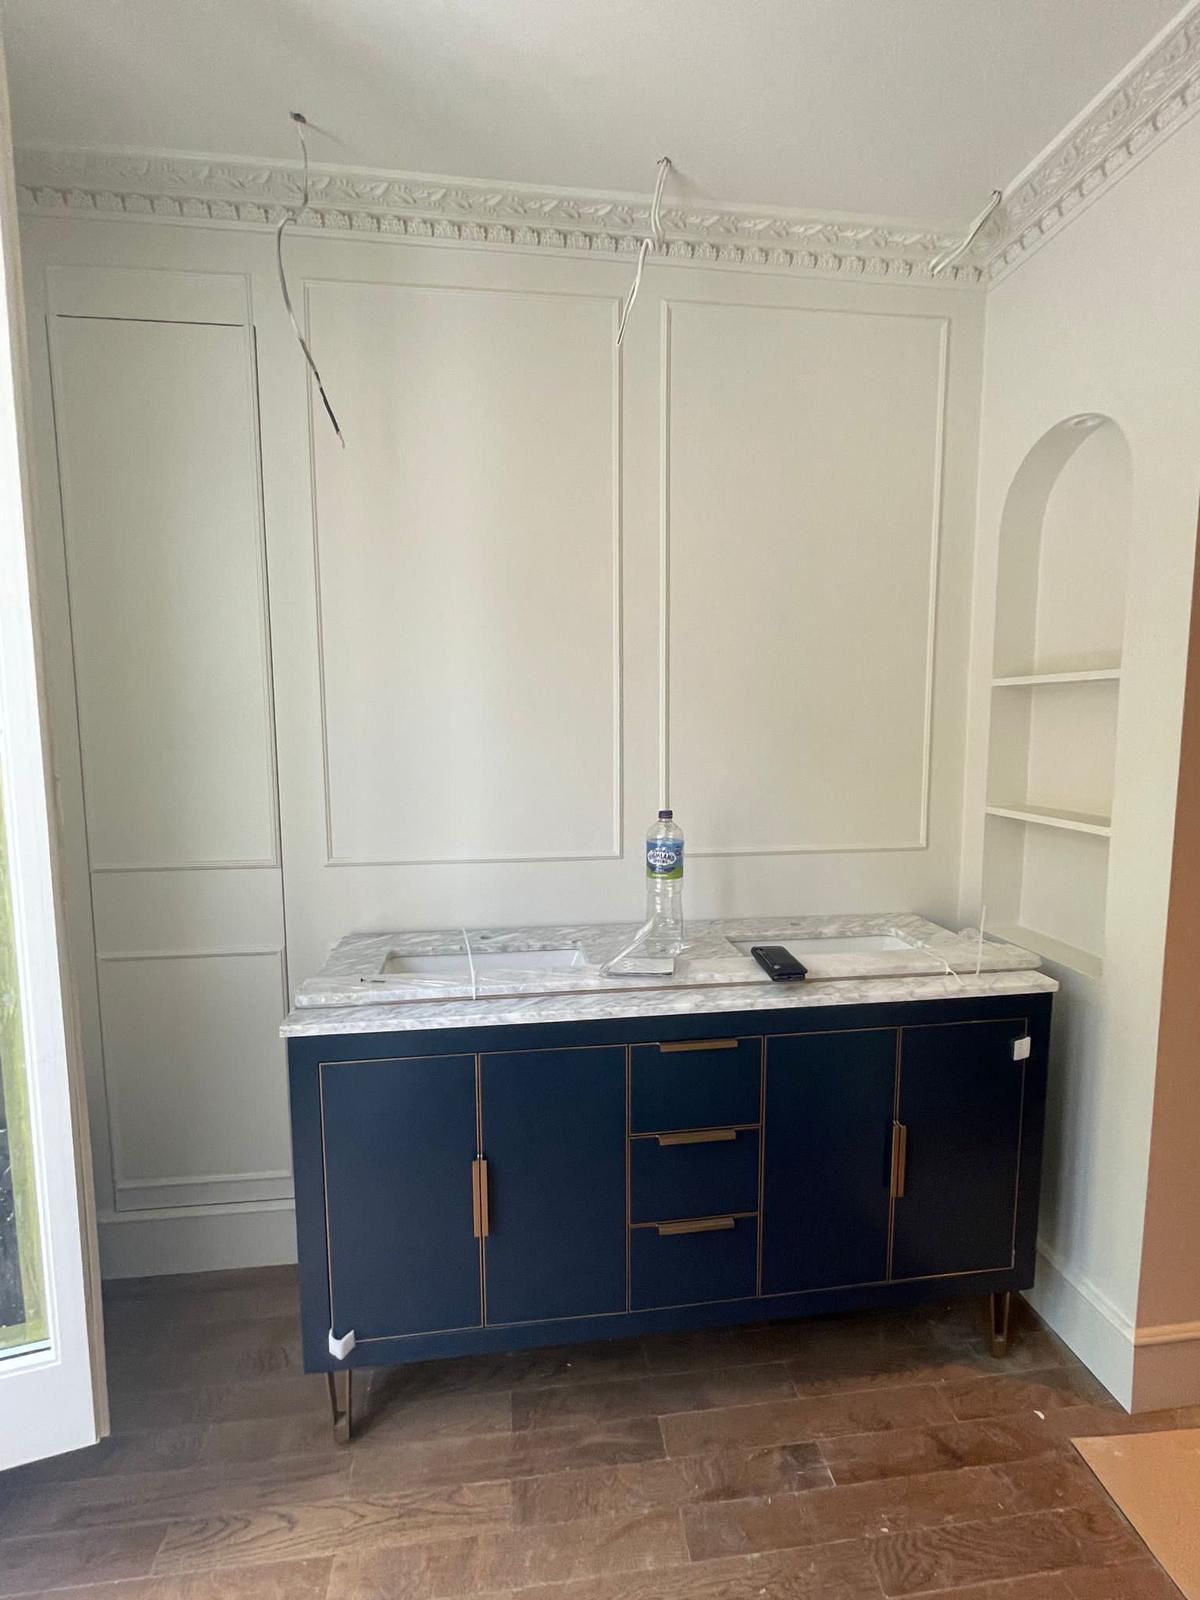
- Test the fitment of components: Install and test the fitment of any fixtures, appliances, or other components, making any necessary adjustments.
- Verify the level and plumb: Ensure that all components are properly aligned and level, using a spirit level and a bubble level.
- Make markings and adjustments: Make any necessary markings or adjustments to the components or the surrounding area to ensure a smooth installation process.
- Document the dry fit: Take photos and notes of the dry fit process, including any issues or challenges encountered, to reference during the installation phase.
Conclusion
Bathroom renovation dry fitting is a crucial step in the remodeling process that offers numerous benefits, including preventing costly mistakes, reducing installation time, and ensuring accurate measurements. By following the step-by-step guide outlined in this article, you can conduct a successful dry fit and ensure a smooth and efficient installation process. Always remember to verify the accuracy of your measurements, inspect and test each component, and document the dry fit process to ensure a high-quality bathroom renovation.
Are you planning a bathroom renovation and want to ensure a successful dry fit? Contact a professional contractor today to learn more about the benefits of bathroom renovation dry fitting and how to conduct a comprehensive dry fit.
Note: The article includes the strategic use of the keyword "Bathroom renovation dry fitting" throughout the article and includes a step-by-step guide to help readers understand the process of conducting a successful dry fit.

/adhesive-type-tub-and-shower-surround-2718959-hero-22d394dc48de474a988eeaad88e9d7b0.jpg "Bathroom Remodel Process | Bathroom Renovations - Bath Fitter | US")


