Why and How to Change G Router IP Address: A Comprehensive Guide
When it comes to network security, managing your home or office Wi-Fi network is crucial. One essential step in this process is changing your G Router's IP address. In this article, we will delve into the reasons why you might need to change your router's IP address and provide a step-by-step guide on how to do it.
Why Change Your Router's IP Address?
Most routers use well-known default IP addresses, which attackers can easily target. By changing your router's IP address, you add a protective layer to your network, making it harder for hackers to access your system. Additionally, changing your IP address can resolve device conflicts, optimize network management, and enhance overall network performance.
Preventing IP Address Conflicts
IP address conflicts can occur when multiple devices on your network have the same IP address. This can lead to connectivity issues, slow network speeds, and even render some devices unable to access the internet. By changing your router's IP address, you can prevent these conflicts and ensure smooth network operation.
Connecting to Another Router
When connecting your router to another router, it's often necessary to change the IP address of your router to avoid conflicts. This process, also known as bridging, allows your routers to communicate with each other seamlessly.
How to Change Your Router's IP Address
Method 1: Using the Router's Web Interface
To change your router's IP address, you'll need to access the web interface using a web browser. The steps to do this vary depending on your router model, but the general process is as follows:
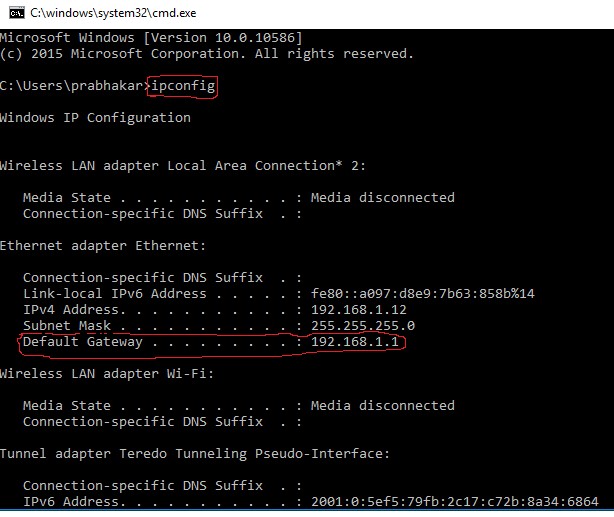
- Connect to your router's default IP address (usually 192.168.1.1 or 192.168.0.1) using a web browser.
- Login to your router using the admin credentials (usually found on the underside of your router or in the user manual).
- Go to the "Advanced" or "LAN" settings section.
- Change the IP address to the desired value (e.g., 192.168.2.1).
- Save the changes and restart your router.
Method 2: Using the Router's Physical Buttons
Some routers come with physical buttons that allow you to change the IP address. The steps to do this vary depending on your router model, but the general process is as follows:
- Locate the physical button on your router that corresponds to changing the IP address.
- Press the button and follow the on-screen instructions to change the IP address.
- Save the changes and restart your router.
Conclusion
Changing your G Router's IP address is a simple process that can have a significant impact on your network's security and performance. By following the steps outlined in this article, you can change your router's IP address and prevent IP address conflicts, optimize network management, and enhance overall network performance.
Remember to always follow the manufacturer's instructions for changing your router's IP address, and take the necessary precautions to ensure a smooth transition.
Additional Resources
For more information on changing your router's IP address, you can refer to the following resources:
- NetSpot: A tool for finding the best channel and tracking changes to your WiFi network.
- Google Fiber app: A tool for viewing and editing network address settings and related information.
- PLDT admin credentials: A list of default admin credentials for PLDT routers.
- CIDR Calculator: A tool for calculating subnet information and IP addresses.
By following the steps outlined in this article and consulting these resources, you can ensure a smooth and secure network operation.


 IP address? - Networking ...")


.bmp_1595560487978c.png "Why Does the Ip Address on My Foscam Change")


